Annotations and Custom Fields
Sometimes it may be useful to document additional information beyond what the default metadata fields allow you to record. Colectica allows you to add additional information about items in the form of annotations and custom fields.
An annotation is a simple note added to an item. It includes a title and content.
A custom field provides a more formal way to add information to an item.
Annotate an Item
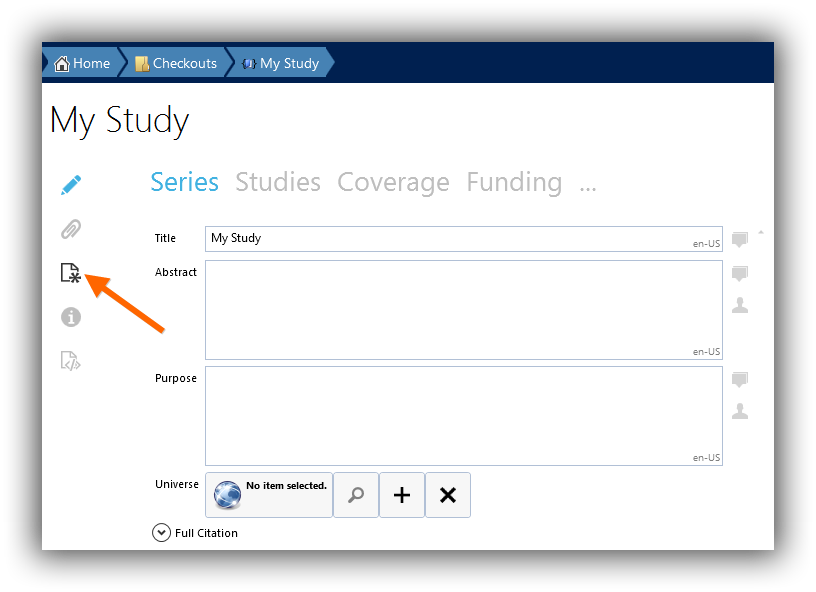
In an item’s view, click the Annotations button.
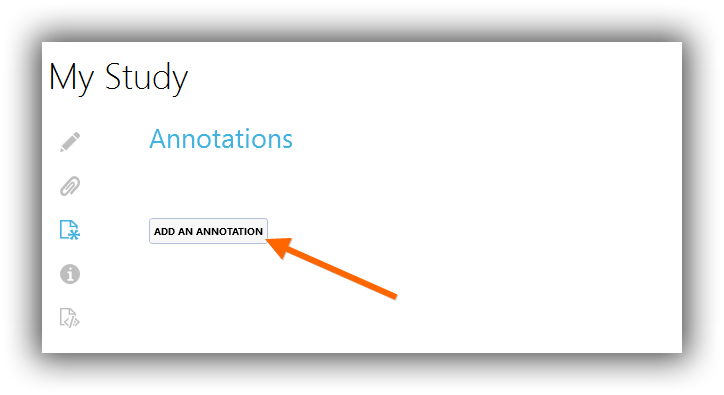
Click the Add an Annotation button.
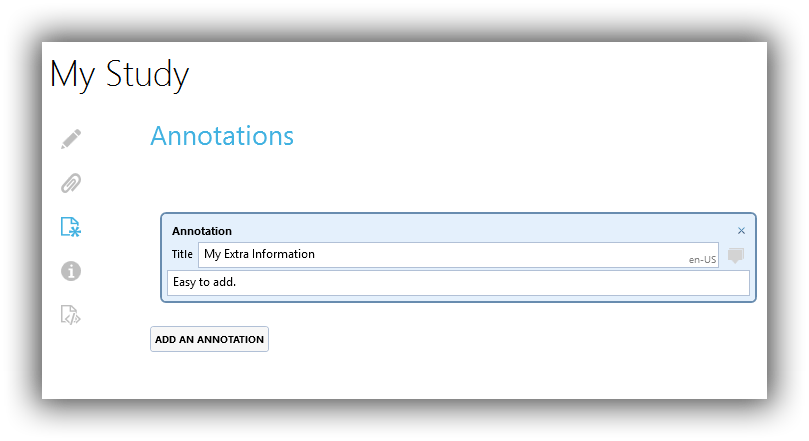
In the fields that appear, enter a title and a value. They will be saved with your item.
Configure Custom Fields
You may wish to make a custom field available to all items of a particular type.
The following properties are used to define a custom field.
- Title
The label for the custom field
- Description
Detailed information about the field. This is displayed as help text in the form.
- Item Type
The type of item to which the field applies.
- Value Type
The type of value.
The following types of custom fields are supported:
Text
Multilingual text
Number
Date
URI (hyperlink or file path)
Controlled Vocabulary (pick list)
Relationship to another item of a specified type
List of relationships to items of a specified type
After defining a custom field, all editors for the relevant item type will include data entry fields corresponding to the definition.
See also
To define custom fields across a network instead of only for a single machine, see Site-wide Custom Field Configuration.
Add a Custom Field
From the File menu, choose the Custom Fields item.
Click the Add button.
Choose the item type to which the field should apply.
Enter a title and description for the custom field.
Choose the value type of the item.
Close the file menu.
The custom field will now be available for items of the relevant type.
Remove a Custom Field
Choose the Custom Fields item from the File menu.
Select the custom field you wish to remove.
Click the Remove button.
Close the file menu.
Note
If individual items have values for a custom field and the custom field is removed, the values are not removed. This only prevents the custom field from appearing for items that do not already have a value defined.