Deployment with Nuget
The best way to reference the Colectica SDK assemblies in your project is to add references to them via Nuget.
Locate your
ColecticaSdkSetup-version.exeinstaller file.Run the setup wizard.
Locate the nuget directory in the installation location. By default this is
C:\Program Files (x86)\Colectica\Colectica SDK\nuget.In Visual Studio, configure this directory as a Nuget Package Source.
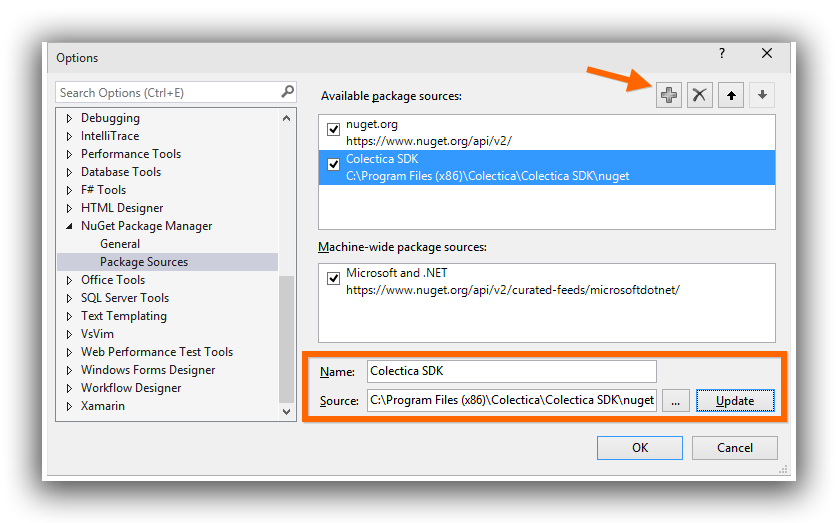
Open the Package Sources options in
Click the plus button to add a new source.
For the Name, enter
Colectica SDK; for the Source, enter the directory from above.Click the Update button.
Your settings should looks something like this.
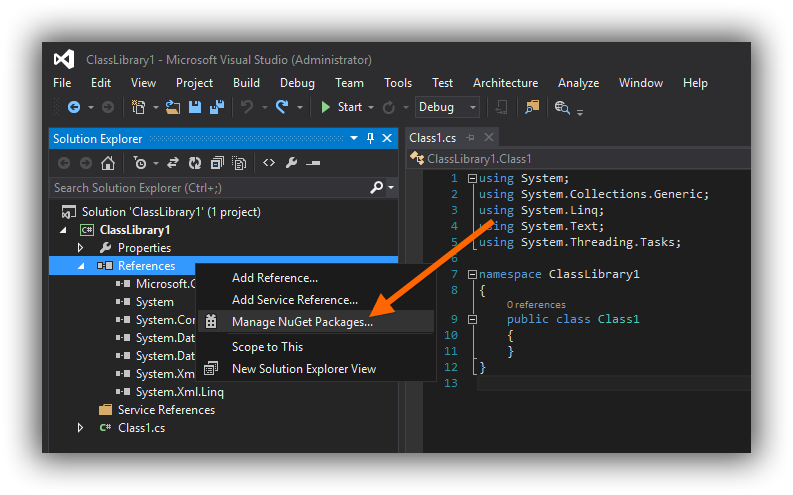
Open a project in which you would like to use Colectica SDK.
Right click .
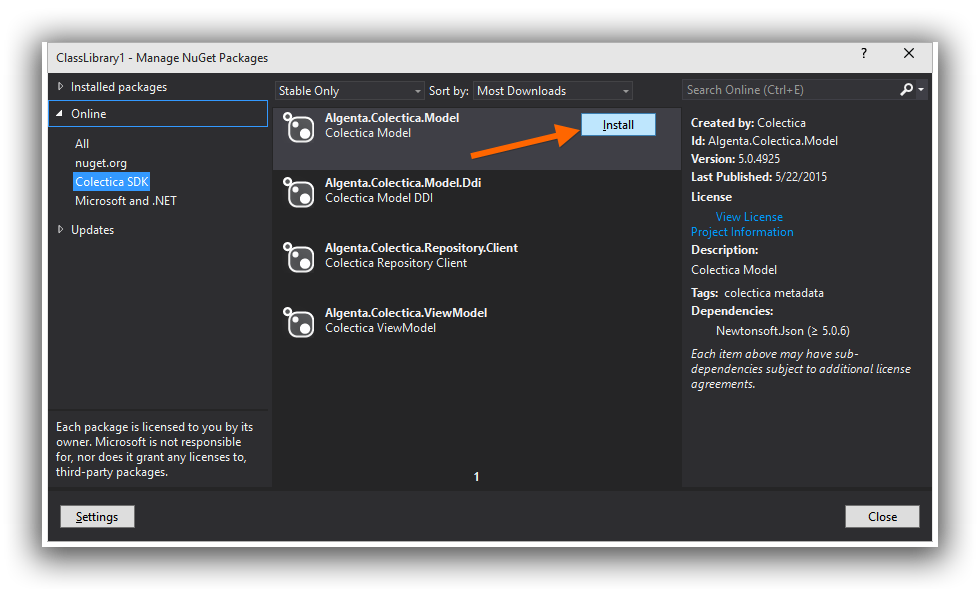
Select the package source.
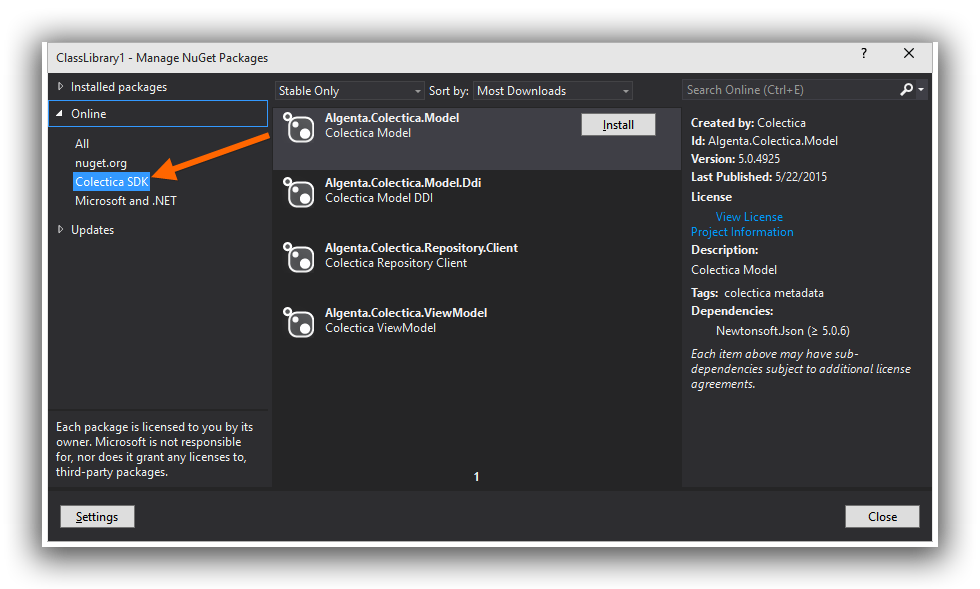
Click the Install button next to each of the Colectica SDK packages.
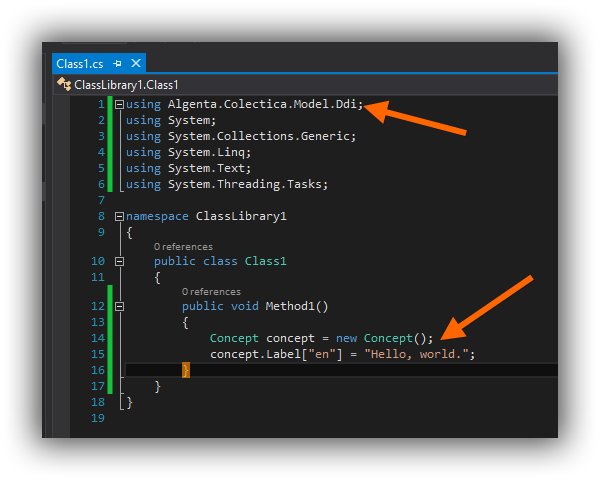
The references will be added to your project.
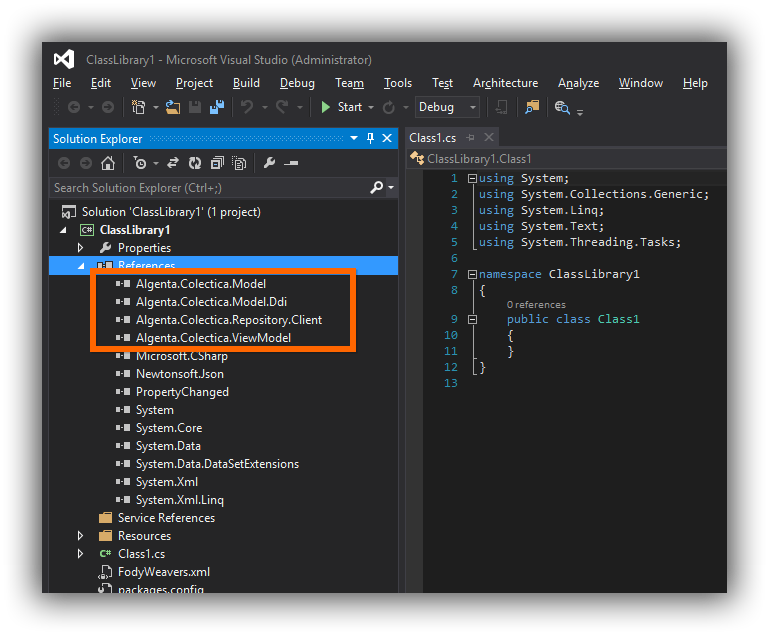
You are now able to use Colectica SDK.