Connect to the Repository with Colectica Designer
In Colectica Designer, open the File menu
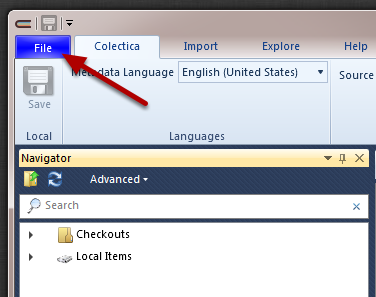
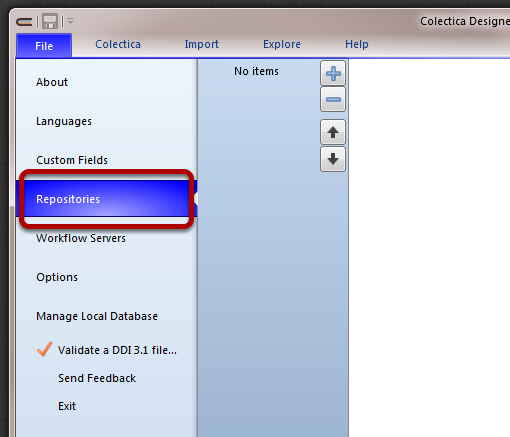
Choose the Repositories item from the File menu
To configure a new repository, click the Add button.
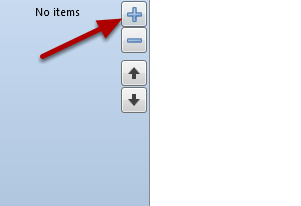
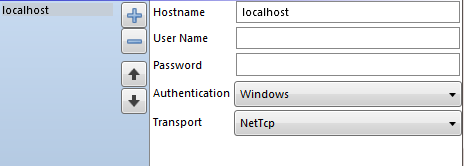
An empty form with connection information will be displayed.
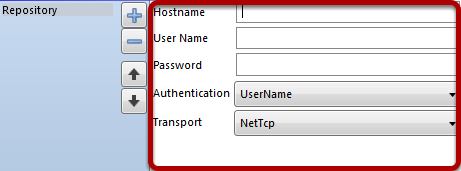
Enter the following information in the connection information form.
Exit the File menu by pressing Escape or clicking the File button again.
In Colectica Designer’s main navigator, you will notice a new entry for “localhost”.
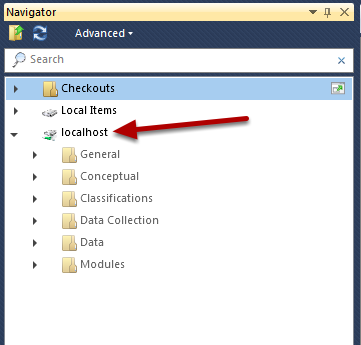
You can browse the contents of your Colectica Repository Developer Edition by drilling down into this area of the navigator.