Deploy the Curation Web Application
Step 1. DNS
Create a DNS record for the hostname you would like to use to access the Curator web application.
Step 2. SSL
Create an SSL certificate for the hostname you would like to use to access the Curator web application.
Step 3. Deploy Site Binaries
Extract the
ColecticaCurationWeb/directory to a location where IIS can access it.Ensure the service account running the application pool has read access to the
ColecticaCurationWeb/directoryEnsure the service account running the application pool has read and write access to the
ColecticaCurationWeb/App_Datadirectory.
Step 4. IIS Configuration
Create a site for Curator web application.
In IIS, choose your machine and select Add Website
- Site name
Curator
- Physical path
The location where you extracted the
ColecticaCurationWeb/directory- Binding
https
- Host name
Your desired hostname
- SSL certificate
Choose the appropriate SSL certificate for the site
- In the newly created Application Pool for the application:
Make sure the .NET Framework Version is set to
4.0. To edit the framework version, right click the pool and choose .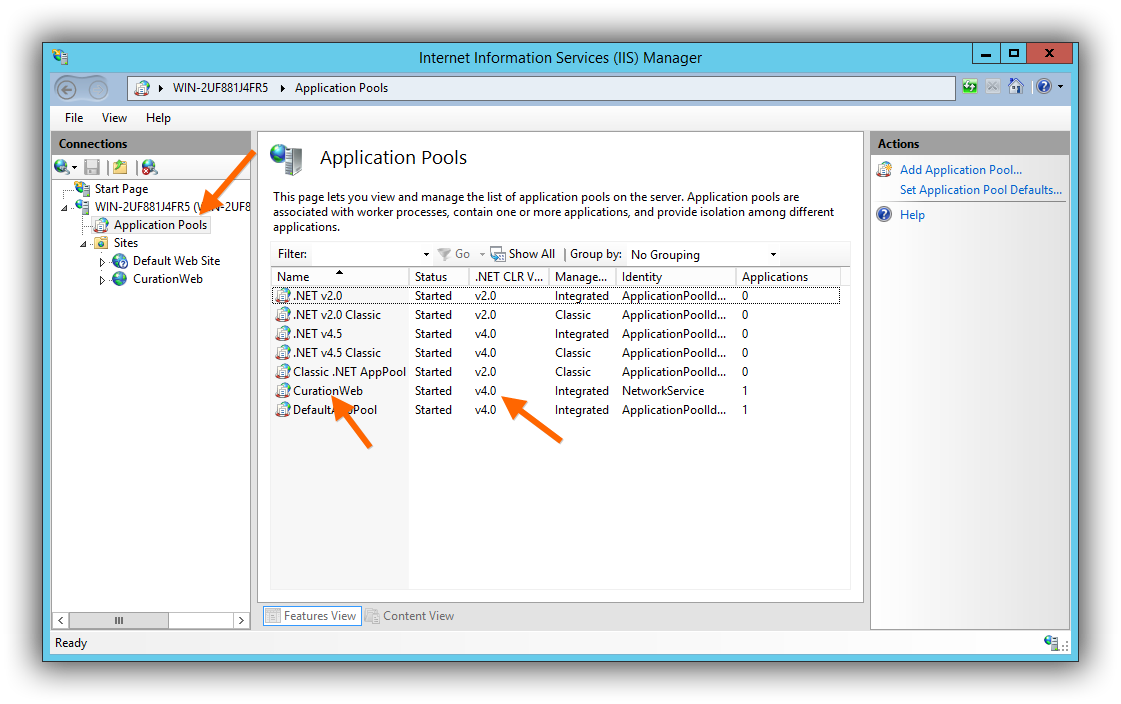
Make sure the user is set to the proper service account that has the correct disk and database permissions. To edit the service account, right click the pool and choose .

- Right click the new web site and choose Edit Bindings
Add an http binding with the appropriate host name.
Note
The HTTP site will automatically redirect to to the HTTPS site.
Step 5. Curator Web Application Config Files
Update database connection strings.
Go to the main deployment directory.
If there is not a file named
Web.config, renameWeb.config.disttoWeb.config.If there is not a file named
ConnectionStrings.config, renameConnectionStrings.config.disttoConnectionStrings.config.Update the connection string named
ColecticaRepositoryfor the Colectica Repository database, which should be accessible by the web application.Update the connection string named
DefaultConnectionfor the Curator database, which must be accessible by the web application.
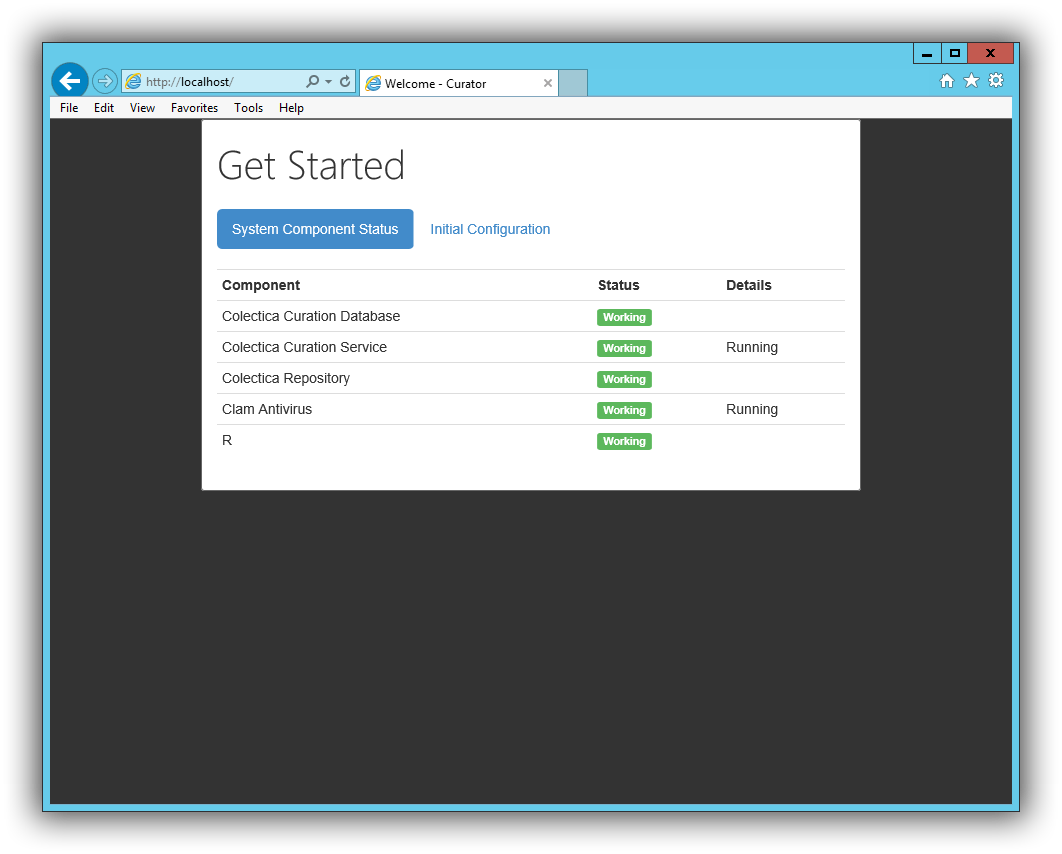
Step 6. Test the Web Application
Using a web browser, visit the web site at the hostname you configured.
Before configuring the web application, continue with the following instructions to install the Curation Service and Clam Antivirus.